Tomorrow is opening day for deer season. So...our craft tonight was to make deer out of handprints. We just painted the kids' hands with brown paint and pressed them on scrapbook paper. (Any color paper will work.) We drew on antlers, eyes, and a tail with a marker.
Thursday, November 14, 2013
Oatmeal Pan Bread
I found this recipe quite a few years ago in an old Taste of Home book. It is a quick way to make homemade bread/rolls, and they taste great.
Ingredients:
1 1/2 cups boiling water
1 cup quick oats (or old-fashioned oats) I have used both
2 packages yeast
1/2 cup warm water
1/4 cup sugar
3 Tablespoons butter
2 teaspoons salt
1 egg
4 1/2 cups flour
Topping:
1/4 cup butter, melted
2 Tablespoons Parmesan cheese
1 teaspoon basil
1/2 teaspoon oregano
1/2 teaspoon garlic powder
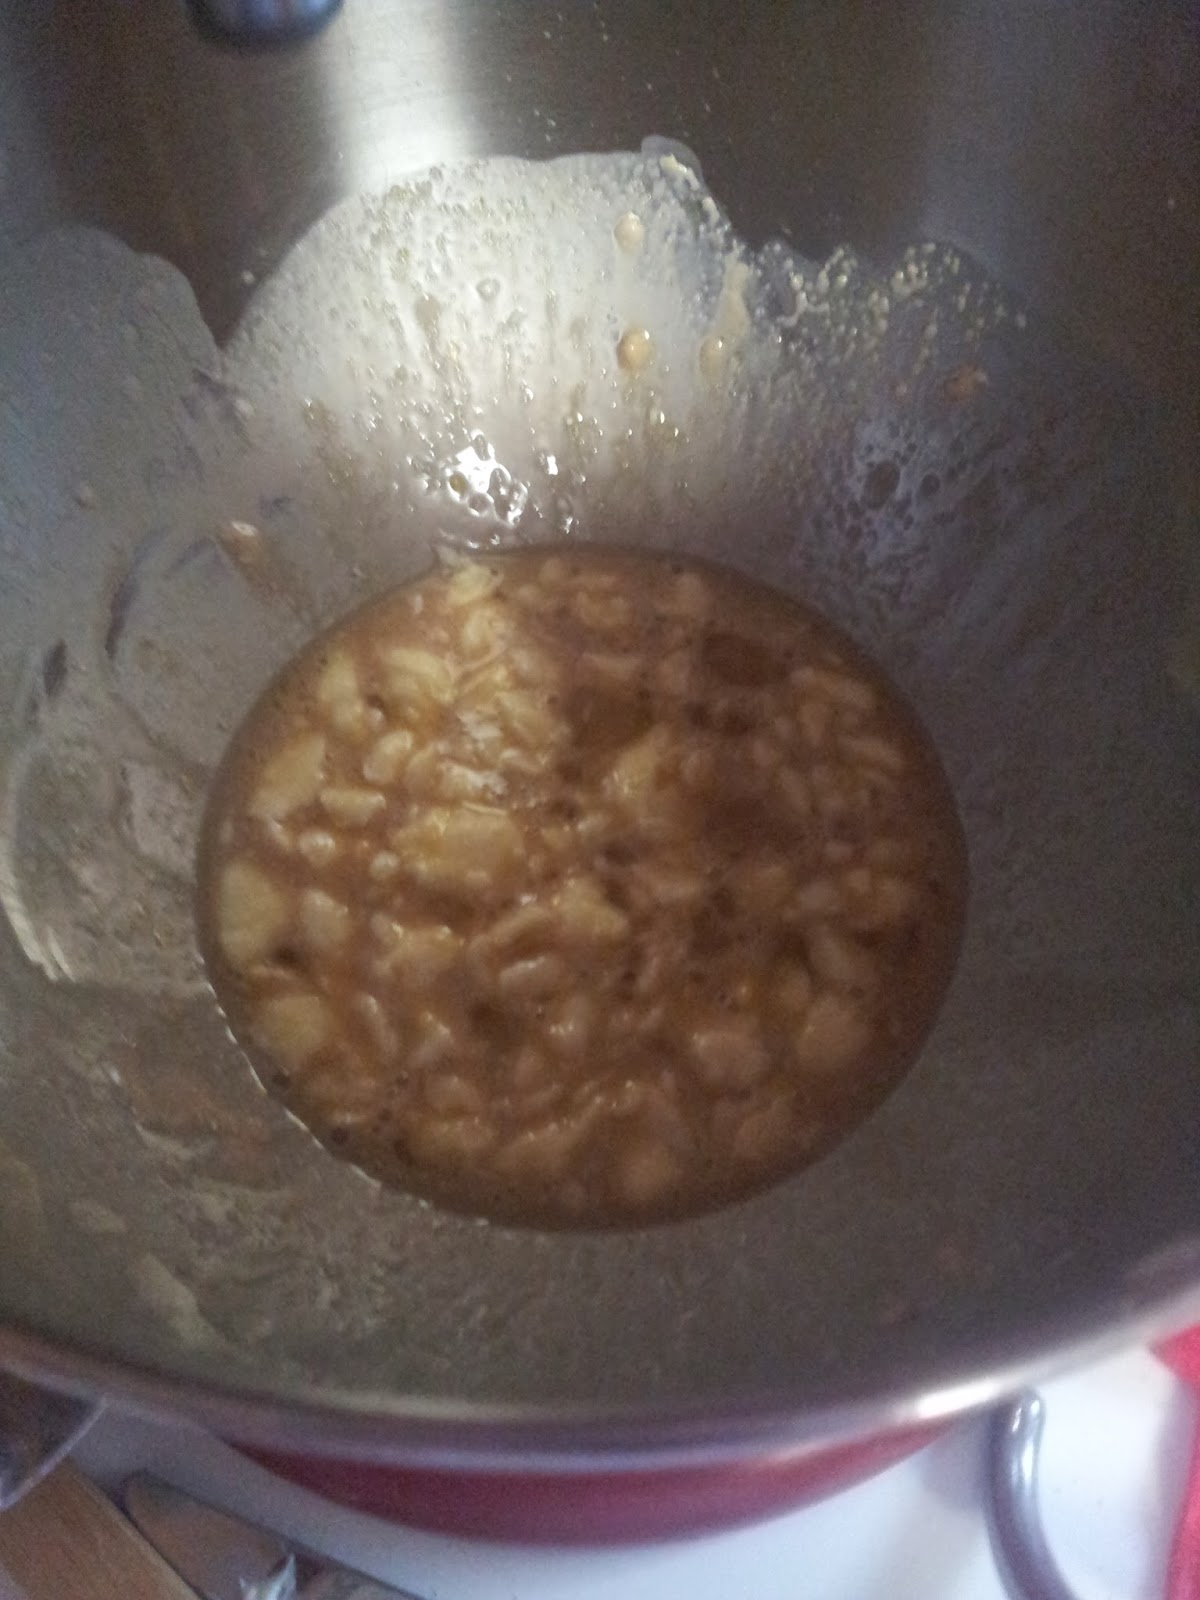
Dissolve the yeast and sugar in water . Let it proof for a couple of minutes. Add salt, butter, the egg, and 2 cups of flour. Mix together.
Meanwhile, boil 1 1/2 cups of water. Add the oatmeal. Stir the oatmeal in the first mixture.
Add remaining flour and mix until a soft dough forms. Knead for 6-8 minutes.
Cover and let sit in a warm place for about 45 minutes, or until doubled.
Punch the dough down. Spray a 9X13 inch pan with cooking spray. Press the dough in the pan. Using a sharp knife, cut lines completely through the dough. See picture below.
Cover and let rise in a warm place for about 45 minutes, or until reaching close to the top of the pan.
Spread melted butter over the dough and bake for 15 minutes at 375 degrees.
Meanwhile, mix the cheese and herbs. Place the herbs and cheese on top of the bread after it has baked for 15 minutes. Bake bread for another 5 minutes.
Then place a piece of tinfoil over the bread and let it bake for a final 5 minutes. (25 minutes total baking)
This reminds me a lot of pizza bread. The boys liked eating it with pizza sauce. It would probably be really good with cut-up pieces of pepperoni baked in it as well.
Monday, November 11, 2013
Veterans Day Craft
This Veterans Day craft is very easy to create. We started with a cream colored piece of paper. We drew a square for the body, rectangles for the arms and legs, and rounded squares for the head and hat. We glued on google eyes, and the boys drew on a face.
Then, using a q-tip, we mixed brown and green paint to color our veteran.
We cut out and glued our veterans to American flag paper.
Sunday, November 10, 2013
Chicken Stir-fry
Ingredients:
2 large chicken breasts cubed
3 peppers diced
1 small onion diced
1 brocolli crown cut
1 8oz package of mushrooms cut
1 large carrot julienne cut
1 jar of Kikkoman stir-fry sauce
Start by cooking chicken in a hot saute pan with a little bit of olive oil.
When the chicken is cooked, remove it from the pan, set aside, and drain the excess water.
Chop all of the veggies and place in a bowl. Keep the mushrooms separate. (They don't take as long to cook.)
Place the veggies, minus the mushrooms, in the saute pan. Cover the pan with a lid and let the veggies cook for about 3-5 minutes.
Add the chicken and mushrooms back in the pan. Dump in the Kikkoman sauce. (I add almost the whole jar.) Let it cook together for a couple of minutes.
Serve with rice.
Football Cocoa Krispie Treats
These treats are amazing, and the kids thought they looked pretty cool.
Ingredients:
3 Tablespoons butter
1 10oz bag of mini marshmallows
1/2 cup peanut butter
5 1/2 cups Cocoa Krispie cereal
white frosting
Start by melting the butter in a large saucepan. Add marshmallows.
When the marshmallows are melted, remove from the heat and add the peanut butter.
Next, add the cereal. Stir until combined.
Spray the tips of your fingers with cooking spray. Then mold little balls of the cereal mixture into the shape of footballs. Place on wax paper.
Pipe on white frosting for the finishing touches.
Saturday, November 9, 2013
Easy Butternut Squash
Start by cutting the butternut squash in half. Scoop out the "guts" with a spoon.
Place the squash face down in a 9X13 inch pan. Put about an inch of water in the pan.
Cover with tinfoil and bake a 350 degrees for about an hour.
It is done when a fork can pierce the skin easily.
While it is still hot, scoop out the squash. Be careful not to get pieces of the outshell in the bowl.
For this size of a squash, I added about 3 Tablespoons of butter, 1/4 cup of brown sugar, and 1/2 teaspoon of salt. Mix with a hand mixer and serve warm.
Dorito Dip
My dad used to make this while I was growing up. It is extremely easy and tastes great with Doritos. It is good with tortilla chips too.
Simply mix 1 8oz package of cream cheese with 1 cup of salsa. Beat with a hand mixer and serve.
Turkey Cups
My kids don't normally get any pop, but for a little weekend treat, we created turkey cups.
We glued on google eyes, a construction paper beak, and feathers. (I had to hot glue the feathers on.) The caffeine free drink closest to the color brown is Vernors, so we used that to fill the cups.
It turned out that David wasn't crazy about the Vernors, so we dumped it out and put orange juice and Grenadine in his. It turned out pretty cute too. You could have your child write things they are thankful for on their feathers too.
Friday, November 8, 2013
Painted Turkey
This craft is quick and easy for toddlers. (Plus they love getting paint on their feet!)
We started by making a brown footprint. (Looking back, it would have been easier to put thier handprints on first, but the kids were too excited to dip thier feet.)
Then the kids dipped their hand in orange, yellow, and red paint. They put fingerprints around the turkey body. We glued on eyes and painted a beak.
Wednesday, November 6, 2013
Turkey Suckers
One of our Thanksgiving crafts is inspired from a picture we found on Pinterest (http://tippytoesandtantrums.typepad.com/diatribes/2010/11/thanksgiving-crafts-for-seniors.html).
We started with a tootsie pop sucker. I put a dab of hot glue on the sucker paper and pressed on a Hershey kiss. (We had cherry kisses, so that is what we used.) We glued on little google eyes, a piece of felt for the beak and added a piece of red felt over the beak. I still had some crafting leaves left, so we glued that to the back of the sucker. You could use a real leaf as well.
Turkey Pancakes
I started with my basic pancake recipe: (http://workingmomwonders.blogspot.com/2013/02/pancakes.html)
I poured a little batter into three bowls. I colored the main batter brown by using a little red, orange, yellow, and black food gel. I then colored the small bowls of batter red, orange, and yellow with food gel.
I poured the brown batter in a hot skillet and then spooned on the colored batter for feathers.
The boys put chocolate and caramel chips on for eyes.
Tuesday, November 5, 2013
Turkey Wreath Made with Tulle
After seeing a picture of a turkey wreath on Pinterest (http://www.babyrabies.com/2012/10/thom-the-turkey-tulle-wreath-tutorial/) I decided to give it a try.
I bought a 10-inch round styrofoam base. I covered the bottom of the styrofoam with brown yarn. (I just hot-glued the ends of the yarn to the styrofoam so it would stay in place.)
To make the beak, I cut a piece of felt and hot-glued it in a cone shape.
I then hot-glued the beak to the yarn. I cut two pieces of red felt and glued them to the beak. Then I took two ping-pong ball size styrofoam balls, painted eyes, and glued them to the yarn.
I bought the tulle by the yard. If you choose to do this instead of buying it in spools, you will have to fold and cut the tulle until it is about 6 inches wide and 16 inches long. I used orange, yellow, brown, and red tulle. (I had more orange and yellow).
Because I had more orange and yellow tulle, I alternated the colors: orange, yellow, brown, orange, yellow, red, repeat.
To tie the tulle on, you create a strategic double knot. The knot is right over left. Then left over right.(Take the right-hand side piece of the tulle and place it over the left-hand side piece of tulle. Tie it. Then take the left-hand side and put it over the right-hand side piece of tulle. Tie that.)
Here is the finished product on the wall.
And if all of these turkey crafts make you hungry for turkey, check out http://workingmomwonders.blogspot.com/2013/06/crockpot-turkey-breast.html for an easy crock-pot turkey dinner!
Sunday, November 3, 2013
Thanksgiving Activity Wall
For our November activity wall, we decided to incorporate Thanksgiving by making a turkey. Each day we will "pluck a feather" from the turkey. Each feather has a different activity.
We started by drawing a turkey on white paper. I cut it out and placed it on our activity wall.
Then I drew four feathers on a piece of cardstock. I cut 2-3 pieces of paper at a time. I used brown, orange, yellow, and red cardstock (7 pieces of paper total for 28 feathers)
Then we taped on the feathers.
Our November activities are...
Rake leaves and jump in the piles
Make brown paper bag drumsticks filled with candy and give to the neighbors
Make a pumpkin pie
Make a hand/footprint turkey
Make a turkey wreath
Make acorn doughnut holes
Make turkeys out of apples and other fruits
Paint Native Americans
Read the Thanksgiving story
Make cornicopias out of sugar cones
Make clothespin turkeys
Make a handprint Mayflower ship
Make turkey suckers
Make paper plate Pilgrams
Make a turkey hat
Make tureky cupcakes
Make pinecone turkeys
Make turkeys out of disposable clothes, fruit loops, and cheerios
Thanksgiving handprint poem for Grandparents
Make a thankful for spinner
Make a turkey out of paper plate and tissue paper
Make Thanksgiving centerpieces
Make teepees
Make a Thankgiving headband
Paint Calico corn
Make turkey cups
Make a shape cornicopia
Make a family turkey handprint picture
Thankful Tree
For the second year, my family has put together a "Thankful Tree" for the month of November. This helps remind all of us of the many things we have to be thankful for. Every day we all put something we are thankful for on a leaf. This is such a powerful activity because everyone in the family puts down things they are thankful for.
We started by using brown paper to make a tree with limbs.
I found a leaf template and cut it out. I traced it on one piece of construction paper. Then, I placed 5-6 pieces of construction paper under the traced paper and made 5-6 leaves at a time.
We put our names and Day 1-Day 30 on all of the leaves. Each day we will add something we are thankful for next to our names.
All of the blank leaves are at the bottom of the tree. Every day we will add the next leaf with the things we are thankful for.
(We had some crafting leaves left over from a past craft, so the boys added some of those to our tree as well.)
This is what our tree looked like last year.
Subscribe to:
Posts (Atom)


.jpg)